A few months ago, I received a text from Claude who ever-so-efficiently assembles furniture of all kinds for my client projects and others. He was putting the finishing touches on his new garage.
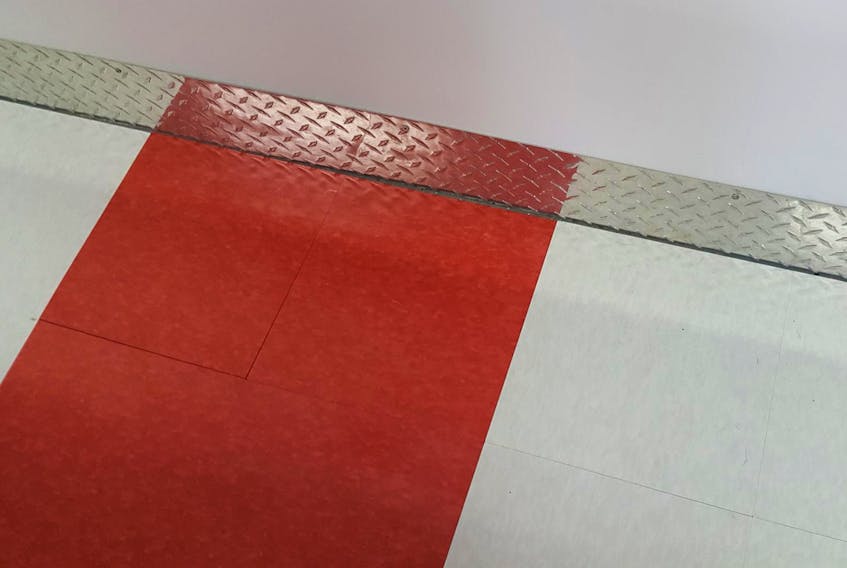
The text had a picture of red and white checker-board flooring and he was asking me how large he should make the squares.
I happily provided my opinion and was invited to come out to see the garage when I had a chance.
Then one day I’m on Instagram and I see that he has posted a picture of the completed garage. I have always wanted to design a “tripped out” garage for someone so naturally I was totally envious. Never mind the Corvette around which the garage was designed.
I know, I’m such a girl. Car, what car? I wanted to know all about how he did it, how long it took, and where he got the supplies, so off I went to have a look.
There is no colour combination I enjoy much more than red, white, black and grey. As a matter of fact, those are the colours I used to decorate my tiny deck this summer.
Anyway, back to the garage. I think my favourite design element is the floor. He used a VCT 12” x 12” tile from Armstrong which is glued to the concrete subfloor in 2’ x 2’ squares. He tells me that individual tiles can be taken up and replaced should one get damaged. Very convenient indeed. Turns out that product comes in a gorgeous array of colours. Wouldn’t purple and pink be fun in a kid’s bathroom perhaps?
The other design element that I really loved is the LED lighting under the base cabinets along one wall. When you turn on the lighting it reflects on the floor. Too cool! The cabinets were purchased unfinished and he bought a small paint sprayer and sprayed them grey. Very cost-effective solution. The entire wall of cabinets cost about $1,900 including the hardware and counter tops.
And, of course, you can’t have a garage designed around your car without a branded decal. He tells me that wasn’t easy to install. It’s tricky to get it on the wall without bubbles and wrinkles but it looked pretty darn impressive to me.
Another decorative touch that I really appreciated is the metal baseboard. It was purchased in two large sheets for about $200 and then cut to height and installed with screws. Just the right touch, I think.
Since you don’t usually build a fancy garage just for the car, there is a folding poker table (which hangs on the wall when not in use) for game night. I found one on Wayfair. You can find pretty much anything on their website. The table matches the décor and the stools, which Claude had recovered, in the perfect shade of red vinyl.
Naturally, you need a bar fridge. And you need a Husky storage cabinet and tool cases to hide any clutter. He was able to take some leather furniture out of the house to complete the space much to the joy of his wife.
Claude figures the garage project took him about a month. Considering he did most of it himself during the evenings, I am super impressed with that timeline. All in all, total supplies for the interior were about $4,800. Never mind the cost of the car and the garage.
Jane Veldhoven owns Get Organized by Design in Halifax and loves working with busy people to help them de-clutter, redesign, and redecorate their spaces, move to a new home, or renovate their existing home.